
Our Second Annual Family Camp-out is next weekend.
I absolutely love fall camping! The weather is perfect: warm sunny days followed by a cool crisp evening. Perfect for a campfire. With a campfire comes food cooked on a campfire!

My secret to successful camping starts with good prep work. The week before I go camping I am planning meals and activities. This year we are having some of our camping favorites: Walking Taco's, Hot Dogs, Breakfast Burrito's, and some dutch oven cooking.
Today I pre-made the Breakfast Burrito's. I love to make these up ahead of time and freeze them. They will serve as a cold source for my cooler and they thaw slowely. When it is time to cook them, I just place them on the campfire and they heat up.
I am sure there are many different ways to make Breakfast Burrito's but this is my preferred method.
Step One: Ingredients
What would you like in your burrito's? I usually put some type of meat in my burrito's. Bacon, Sausage, Chorizo, even meatless substitutes will work great. Next, eggs or egg substitute. Vegetables? My family is split on what vegetables we like and don't like. Sometimes I add mushrooms, peppers, or onions. The last ingredient that I normally use is potatoes.
Step Two: Prepare Ingredients

This is where I maybe a bit odd. I like to cook each component separately. I start with the meat.
Then I will saute any vegetables I am using. Then I scramble the eggs. Depending on the potatoes you choice to use, you may need to cook them too.

Step Three: Mix 'em Together

As the individual components are cooked, I mix them together in a large bowl. I also add the things that did not need to be cooked: cheese and my choice of potatoes.
As my friend Angie can tell you, I am not a measuring kinda lady. I usually add ingredients until it looks right to me. That kind of cooking drives Angie crazy! So for those who need some parameters: I used 1 pound of sausage; 1 package of Simply Potatoes, 10 eggs, 1/2 cup milk in my eggs, and about 2 cups of cheese.

These are the potatoes I use. They can be found in the refrigerator section right next to the eggs. They are perfect for breakfast burrito's. I do not heat them before I make the burrito.
Step Four: Fold Your Burrito

Step Five: Wrap It In Foil
Folding a burrito is not complicated. You simply fold in the ends and roll it. After it is rolled, I wrap mine in two layers of aluminum foil. They are going to be cooked over a campfire after all.

When wrapping the burrito in aluminum foil, you want to create a pocket for steam. I bring the long ends up together and fold them down towards the burrito.

After the long end is secured; work on the short ends. Roll them up tightly.

After all the burritos are rolled and wrapped I put them in a plastic bag and freeze them. They are then ready for the camping trip!
I absolutely love fall camping! The weather is perfect: warm sunny days followed by a cool crisp evening. Perfect for a campfire. With a campfire comes food cooked on a campfire!

My secret to successful camping starts with good prep work. The week before I go camping I am planning meals and activities. This year we are having some of our camping favorites: Walking Taco's, Hot Dogs, Breakfast Burrito's, and some dutch oven cooking.
Today I pre-made the Breakfast Burrito's. I love to make these up ahead of time and freeze them. They will serve as a cold source for my cooler and they thaw slowely. When it is time to cook them, I just place them on the campfire and they heat up.
I am sure there are many different ways to make Breakfast Burrito's but this is my preferred method.
Step One: Ingredients
What would you like in your burrito's? I usually put some type of meat in my burrito's. Bacon, Sausage, Chorizo, even meatless substitutes will work great. Next, eggs or egg substitute. Vegetables? My family is split on what vegetables we like and don't like. Sometimes I add mushrooms, peppers, or onions. The last ingredient that I normally use is potatoes.
Step Two: Prepare Ingredients

This is where I maybe a bit odd. I like to cook each component separately. I start with the meat.
Then I will saute any vegetables I am using. Then I scramble the eggs. Depending on the potatoes you choice to use, you may need to cook them too.

Step Three: Mix 'em Together

As the individual components are cooked, I mix them together in a large bowl. I also add the things that did not need to be cooked: cheese and my choice of potatoes.
As my friend Angie can tell you, I am not a measuring kinda lady. I usually add ingredients until it looks right to me. That kind of cooking drives Angie crazy! So for those who need some parameters: I used 1 pound of sausage; 1 package of Simply Potatoes, 10 eggs, 1/2 cup milk in my eggs, and about 2 cups of cheese.
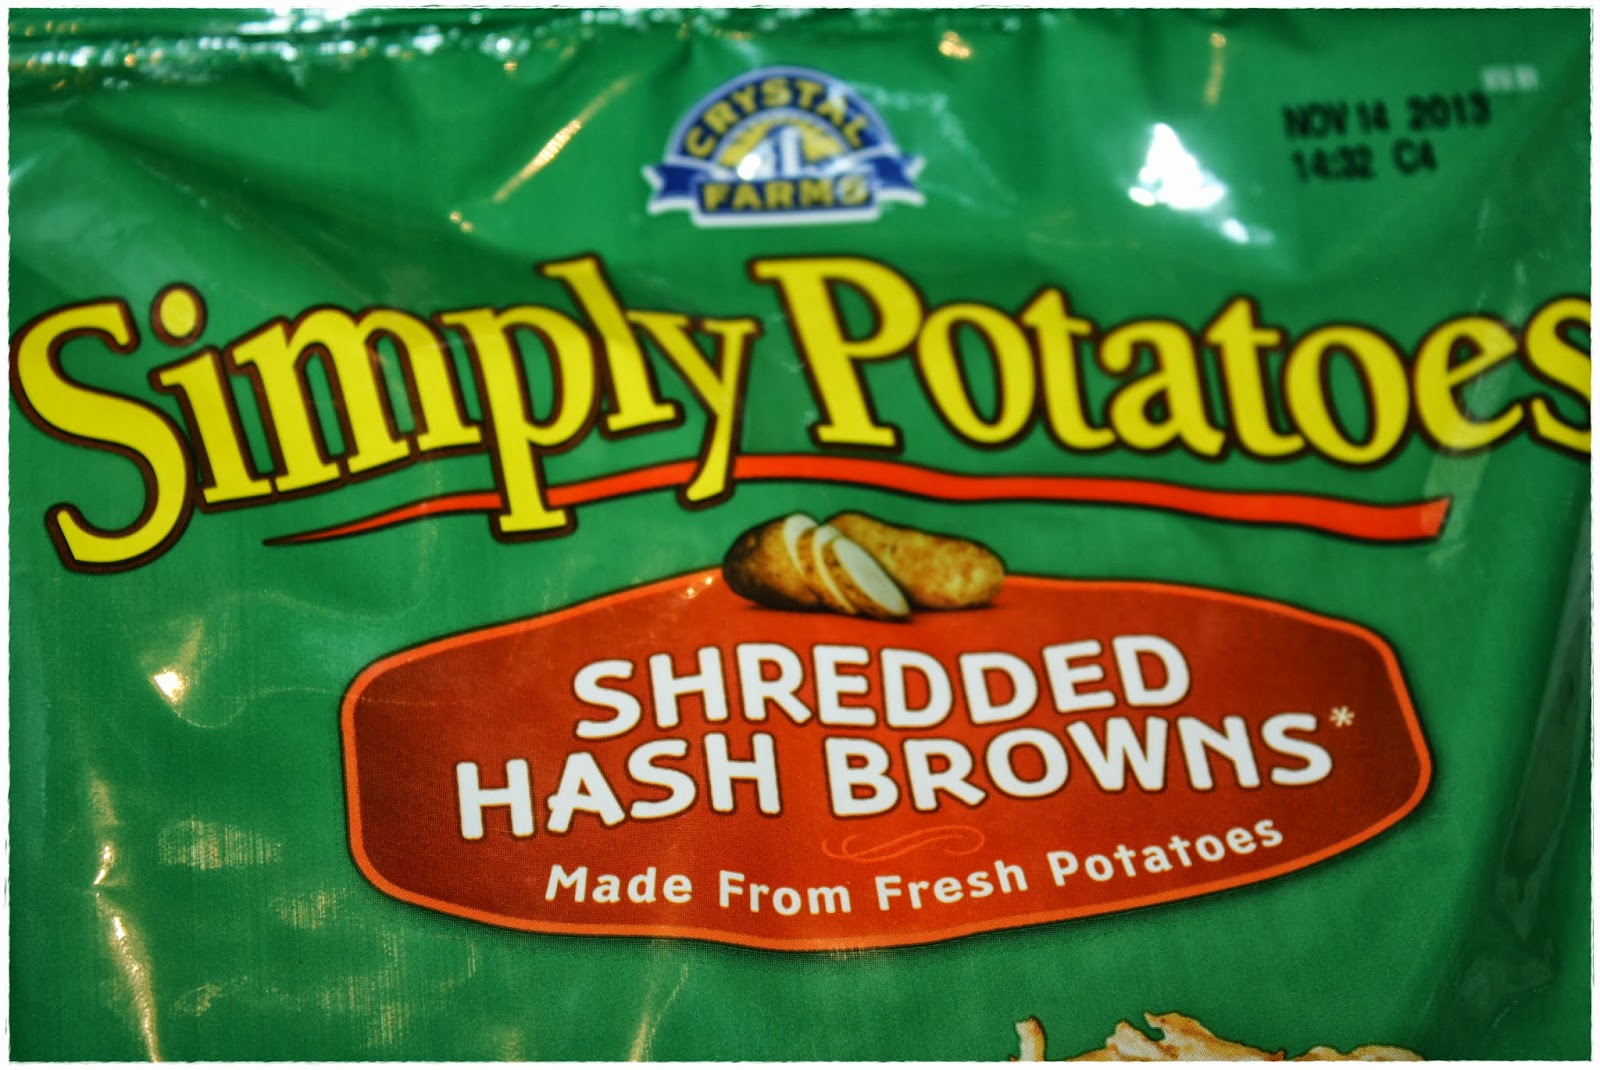
These are the potatoes I use. They can be found in the refrigerator section right next to the eggs. They are perfect for breakfast burrito's. I do not heat them before I make the burrito.
Step Four: Fold Your Burrito

Step Five: Wrap It In Foil
Folding a burrito is not complicated. You simply fold in the ends and roll it. After it is rolled, I wrap mine in two layers of aluminum foil. They are going to be cooked over a campfire after all.

When wrapping the burrito in aluminum foil, you want to create a pocket for steam. I bring the long ends up together and fold them down towards the burrito.

After the long end is secured; work on the short ends. Roll them up tightly.

After all the burritos are rolled and wrapped I put them in a plastic bag and freeze them. They are then ready for the camping trip!
Comments
Post a Comment