

I love classroom parties! Luckily for me, my Short Chic is in a church-based preschool. Which allows me to bring homemade treats to classroom parties.
I am responsible for the sweet treat for the Easter party.
I decided to make homemade marshmallows and dip them in chocolate.
This is not the first time I have made homemade marshmallows. A long time ago, the domestic goddess herself, Martha Stewart, featured them in one of her magazines and I rose to the occasion. But that has been nearly 14 years. What I remember from that experience....they may sound hard to make but they were actually easy. Time consuming, yes. Difficult, no.
This time, I used a recipe from Smitten Kitchen.
To make homemade marshmallows you need:
- Powdered Sugar
- 3 1/2 envelopes of unflavored gelatin
- 1 cup very cold water, divided
- 2 cups of sugar
- 1/2 of corn syrup
- 1/4 t salt
- 2 large egg whites
- 1 T vanilla

In the mixing bowl add 1/2 cup of very cold water. Add the unflavored gelatin. Let this sit so the water can soften the gelatin.

Oil the bottom and sides of a jellyroll pan. Dust the oil with powdered sugar.
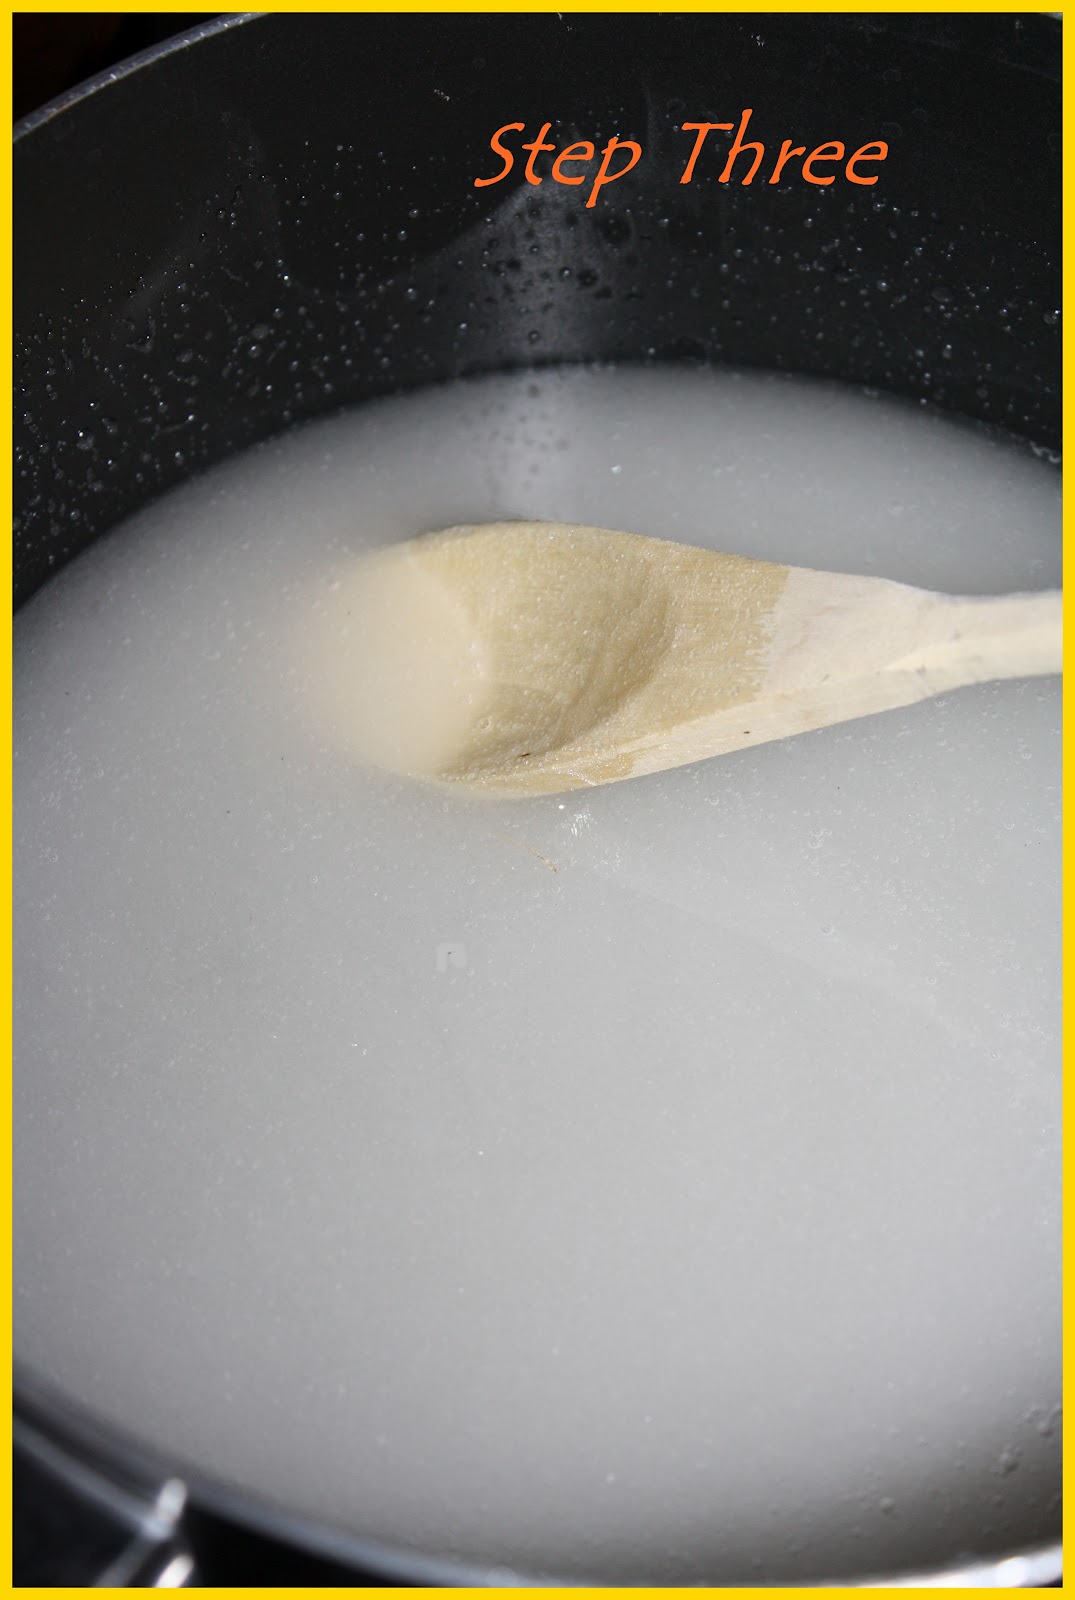
In a large saucepan, add the sugar, corn syrup, the second 1/2 cup of cold water, and the salt. Over low heat, mix with a wooden spoon until sugar is dissolved. Increase the heat and bring to a boil, without stirring.

Bring the sugar mixture to the temperature of 240 degrees on a candy thermometer. Remove from heat and add the hot sugar mixture to the softened gelatin. Stir until the gelatin dissolves.

THANKFULLY, I have a stand mixture. The next step is beating this sugar and gelatin mixture on high speed until the mixture is thick, white, and triples in volume. This took about 10 minutes.
In a separate bowl with clean beaters add the egg whites. Beat until stiff peaks form. Add the egg whites to the sugar mixture and add the vanilla until just combined.

Pour the mixture into the prepared jellyroll pan. Sprinkle additional powdered sugar on top of the mixture.
{Side note, the mixture is VERY VERY sticky at this point} Let the mixture sit for a minimum of 4 hours or up to one day. I let mine sit for a day before I took a knife and ran it around the edges. I then plopped the marshmallows out of the pan and onto a cutting board. Next I used a cookie cutter and cut out shapes. I used an egg.
I melted chocolate, dipped a Popsicle stick into the chocolate and put it in the bottom of the egg. Then using a spoon, I covered the egg shaped marshmallows in chocolate and added sprinkles.

After they were hardened, I added a cute bag and was ready for the Easter Party. Can I add there were small pieces left over and I am so looking forward to melting some dark chocolate and eating them! Happy Easter to everyone!

She loved them! And that is all it takes to melt my heart!
I am linking up this week to these cool blogs:
Oopsey Daisy's Wednesday Wowzers
Junk In their Trunk: Link It Up Wednesday
Serendipity and Spice: Manic Monday Linky Party
Hoosier Homemade Spring Linky Party
Sassy Sites: Free For All Friday

Cute!!!
ReplyDeleteMegs
I had no idea you could make these from scratch. I hope you had a very Happy Easter! Thanks for sharing at oopsey daisy!
ReplyDelete